Content Aware Sidebars Tutorial – WordPress Plugin
Do you need a different sidebar on a page on your WordPress site? In this Content Aware Sidebars tutorial, you will learn how to display a WordPress sidebar on a post or page of your choice. It doesn’t even require any code or edited theme files.
To create and display a another sidebar or widget area on your site, just follow these 4 easy steps:
- Install WordPress sidebars plugin
- Create a sidebar for a select post
- Add widgets to custom sidebar
- Activate and display custom sidebar
Let’s get started.
Step 1: Install WordPress sidebars plugin
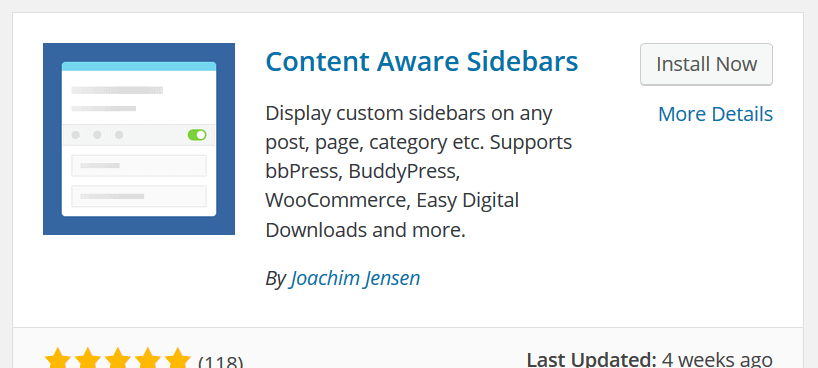
The first thing we need to do is to install and activate the Content Aware Sidebars plugin. In the Admin Dashboard on your WordPress site, navigate to Plugins > Add New. In the “Search plugins…” input field to the upper right, search for content aware sidebars. You should now see this on your screen:
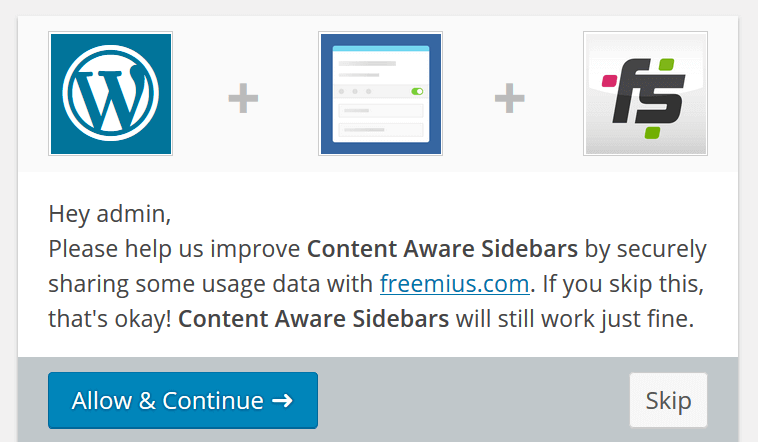
Click Install Now and then Activate. You will then be redirected to a screen with this prompt:
If you want to share some usage data and help make Content Aware Sidebars better, click Allow & Continue, otherwise just click Skip. You can always change your mind later, and your choice will have no effect on the features in the plugin.
Step 2: Create a sidebar for a select page
Leave the Admin Dashboard and navigate to the page you want a different sidebar on. It can also be a post or any other custom post type, the following steps will be the same.
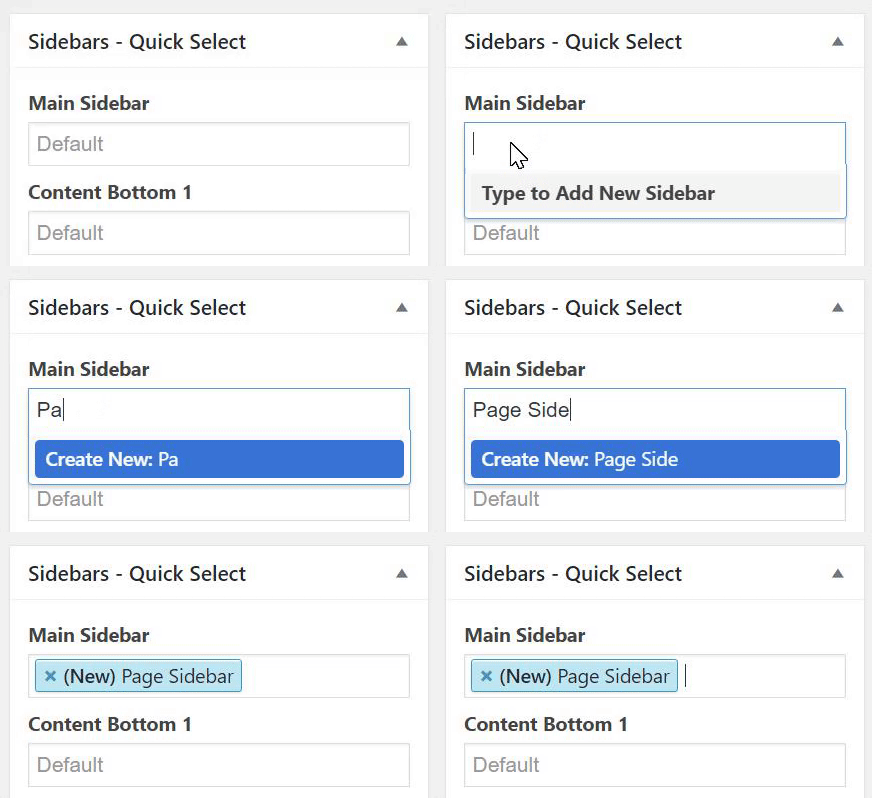
In the admin bar, click on the Edit Page link. On the next screen, you should see a Sidebars – Quick Select meta box to the right. This meta box allows you to replace all the default sidebars in your theme.
Click on the “Default” input field below the sidebar you want to replace and enter a descriptive name for your new sidebar, then press Enter. Click Update to save the page.
The newly created sidebar is inactive and will not be displayed on your WordPress site yet.
Step 3: Add widgets to custom sidebar
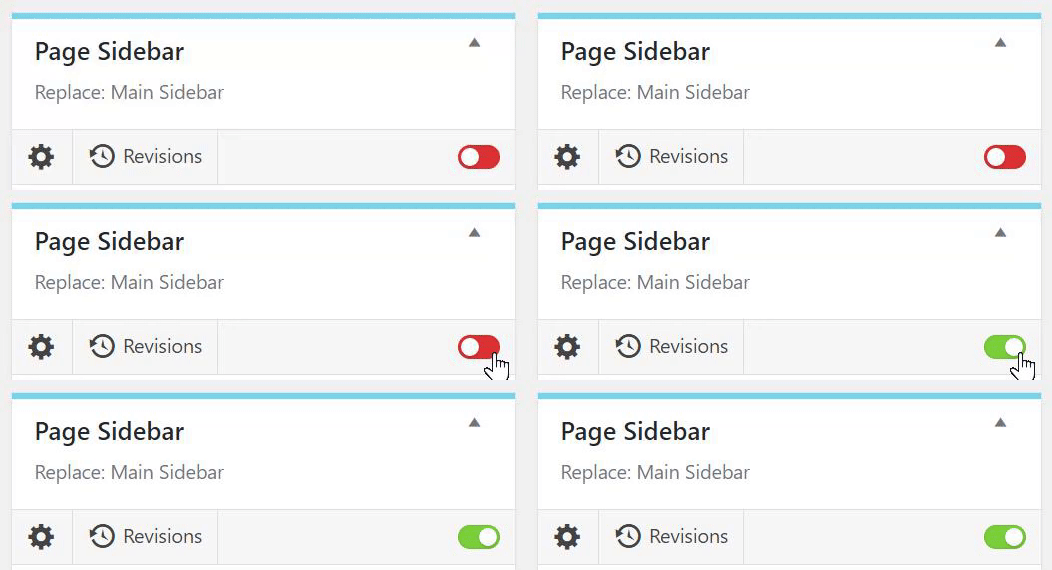
Now it’s time to add some widgets to the new sidebar. Still in the Admin Dashboard, navigate to Appearance > Widgets. Widget areas created by Content Aware Sidebars are easily identifiable with a blue line, and adding and removing widgets is done the same way as any other widget area.
There are many good plugins you can add to get beautiful WordPress widgets for different purposes, such as SiteOrigin Widgets Bundle. Content Aware Sidebars supports them all.
Because your new sidebar is still inactive, you can play around with its’ widgets without worrying about it being displayed to your site visitors.
Step 4: Activate and display custom sidebar
Finally, you have created a sidebar and added some widgets to it, and now it’s time to activate it. You can do this directly from the same screen as before with 1-click Sidebar Activation. Simply click on the red toggle button on the sidebar you want to activate. The sidebar will now be displayed on the page you selected!
If you want to schedule your sidebar to activate and/or deactivate at a later point, click on the gear icon on your sidebar to edit it. If you haven’t been on the Edit Sidebar screen before, you’ll see a Get Started in 3 Easy Steps popup that offers you a quick, interactive tour.
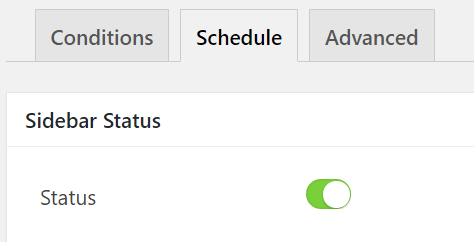
To schedule the sidebar, click on the Schedule tab and select the dates for activation and deactivation. You can also toggle Status to ON to activate it immediately. Once you’re done, just click Update to save the changes.
That’s it! I hope this Content Aware Sidebars tutorial has been helpful to show just how easy it is to display different sidebars on pages on your WordPress site.
If you want to learn more about the plugin, check out the documentation for supported sidebar conditions and how to display a sidebar on mixed conditions, such as all posts with a category.
